Raster Tiles
URL Template for the tile server
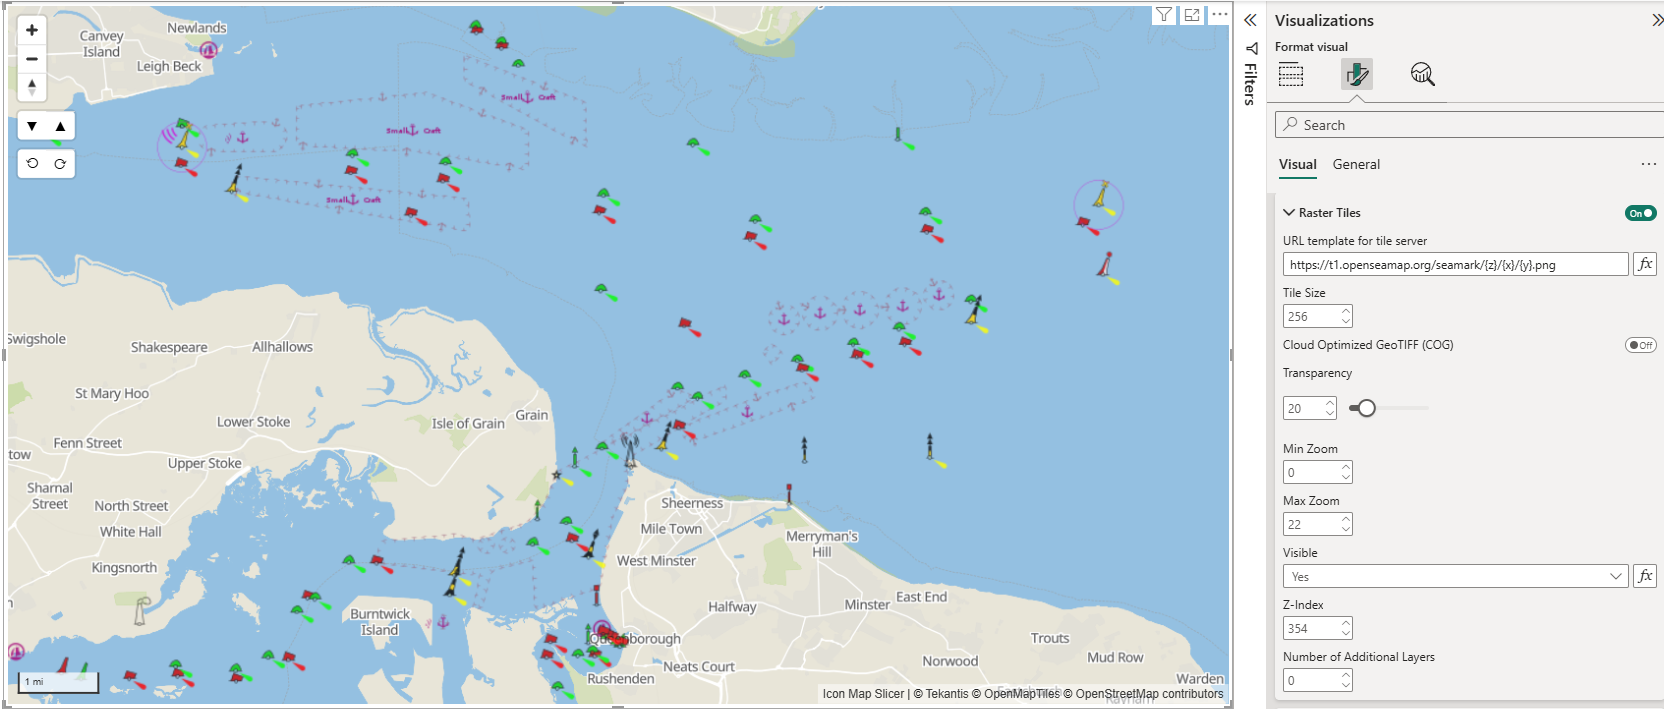
To display custom raster tiles as an overlay in Icon Map Slicer you need to use the template XYZ template for the URL.
For example, to overlay OpenSeaMap navigation elements over the background map, we can use the following URL format:
https://t1.openseamap.org/seamark/{z}/{x}/{y}.png
This can also be provided using Power BI conditional formatting as a measure, to allow it to be dynamically modified.
When using custom tiles, ensure that you also include any additional attribution required by the map provider. This can be added in the Controls formatting options.
Tile Size
The size of the tile provided by the server.
Cloud Optimized GeoTIFF
A Cloud Optimized GeoTIFF (COG) is a special type of GeoTIFF file designed for efficient reading directly from cloud storage or over the internet. COGs are structured so that map software can request only the parts of the image it needs—such as a specific zoom level or geographic area—without downloading the entire file. When using COGs, the URL should specify the location of the GeoTIFF file, rather than the zxy template.
Key points when using COGs:
- They must be hosted on a server or cloud service that supports HTTP range requests.
- The storage must be configured for CORS, with an '*' or 'null' origin.
- Some very large COGs may still require preprocessing or pyramiding for optimal performance.
Transparency
Percentage transparency of the layer between 0 and 100.
Min Zoom
The zoom level (0 = whole earth, 22 = street level) at which the layer will start to appear
Max Zoom
The zoom level (0 = whole earth, 22 = street level) at which the layer will stop appearing
Visible
This allows you to use conditional formatting to determine whether the layer is visible or not. Use a field or DAX measure that returns "yes" or "no" to determine whether the layer is shown or not.
Z-Index
Position of the layer relative to other Icon Map Slicer layers.
Additional Layers
It is possible to overlay multiple custom raster layers on the same map.
Specify the number of additional layers using the "Number of Additional Layers" setting, then use the "Apply settings to" dropdown to configure the selected layer in the section below.